I know we all want to create it but making a family photo album and even sometimes just printing pictures (which ones?!) is overwhelming…
It has been on your resolutions list for a long time. This year, your pictures are going from your devices into albums and prints on your walls!
I started making yearly albums when I was pregnant with my first child. I will be honest, I didn’t cover all the years… I just didn’t have a good and efficient system in place. But when I see how my kids love sitting on the sofa together and looking at past adventures or at themselves when they were babies, I have to create those missing albums!
I am going to scare you here but it is for your own good! The average lifespan of a hard drive is less than five years, FIVE years!! This is so scary… you need to put these pictures into albums!
Where should you start? Here are a few tips to help you!

1. Find all the devices and consolidate your images in one place
As everyone, you probably have photos on a lot of different devices. For me, consolidating everything in one location was the most overwhelming part of the album creation process but once it is done, the rest is – almost – easy!
My pictures were all over the place. I counted 9 different devices between the computers, hard drives, phones, iPads, camera…
The first step is to upload all those images to the same location. This is the best way to avoid duplicates or missing photos.


2. Organize the folders
I organize my folders first by year, then inside of each year, by month. As you have less pictures in each subfolder to select, it is easier to go through them.
You don’t have to organize all your pictures at once. For example, you can decide to select January to March images one day and focus on the following months another day. But select the day and write it on your agenda!
When your folders are organized, it goes fast to transfer them to the album software.
Ask your computer of help!

3. Done is better than perfect!
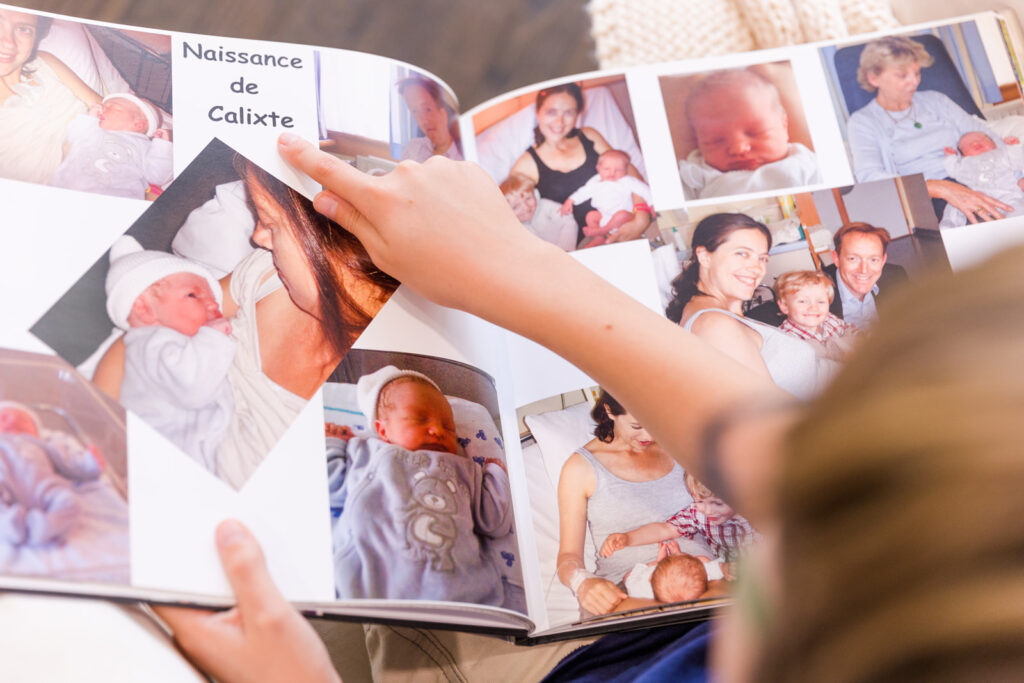
You don’t have to put a caption under each image or write the exact date of every event. I only have 12 labels in my albums: one for each month of the year.
Same for the lay out, if you are too much of a perfectionist, if can become an endless project that will lose its fun.



4. Create your family photo album
Start by deciding the type of album you want to make. Is it for a travel, a full year, a specific photo session or event?
Most companies have free full customizable templates. It helps you design and showcase your photos the best and fastest way possible.
You can select the number of images you want on each page but don’t over crown them. 2 to 6 pictures per page is usually a good number, but once again, it depends on the topic and the pictures.
You don’t have to feel tied to any image. It is ok if most of them don’t make it to the album. Don’t include pictures that are too similar or not in line with the rest of the story you are telling.
Leave the cover design for the end, once you have selected all the pictures and laid them out in the album.


5. For the coming years
Now that you have done it once and you see what is working for you, create your own process! Try once a month, to consolidate all your photos of the previous month in a specific folder and sort them to select the best and most meaningful ones.
All the steps will go faster from there.
Depending on the time you have, you can design your album once a year or add a few pages every month.
I hope these advices will help you and motivate you to create your own unique family albums. Your children will thank you for it!
You will find a lot of tips to answers your questions in my other blog posts.
Laure Pascal-Glorieux is a lifestyle photographer specialized in family photography and personal branding photography. Laure lives in Atlanta GA.



LEAVE A COMMENT
0 Comments